Tplinkwifi.net is a web-based interface for TP-Link networking devices that allows users to configure their devices and manage their network. It provides options to change network name, password, security settings, parental controls and more. Instead of using an IP address, users can access their router’s settings by typing “tplinkwifi.net” into their web browser’s address bar.
How to login at Tplinkwifi.net?
Here are the steps to login at Tplinkwifi.net:
- Connect your device to TP-Link router via Wi-Fi or cable.
- Open any web browser on your device.
- In the address bar, type http://tplinkwifi.net or you type TP-link’s default gateway address http://192.168.1.1 and press Enter.
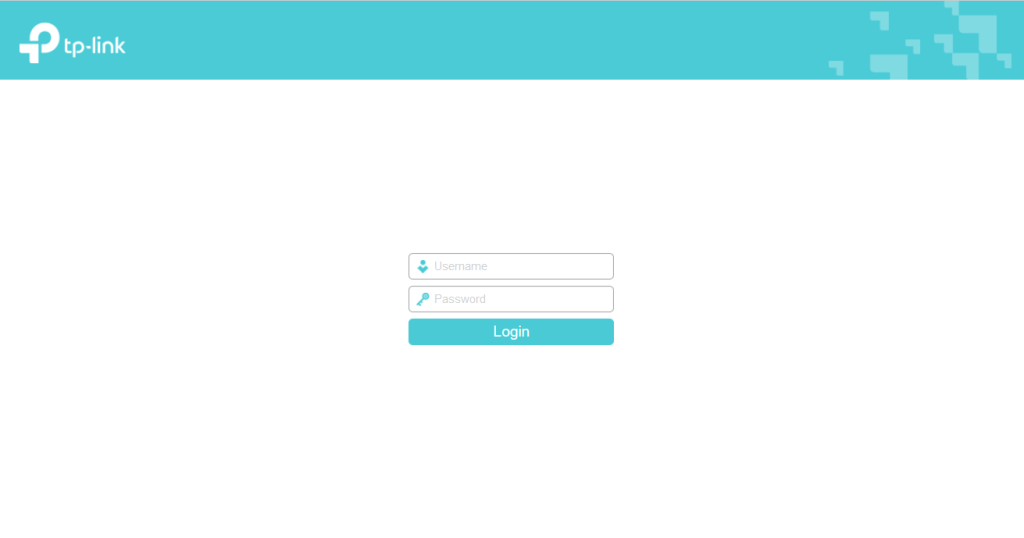
- You will be redirected to the TP-Link router login page.
- Enter your username and password in the provided fields. (The default username and password for TP-Link routers is usually “admin” for both fields.)
- Click the “Login” button.
- You should now be logged in and can access the router’s settings and configuration options.
Note: If you have changed the default login details and forgotten them, you may need to reset your router to factory settings.
How to change TP-Link WiFi Password?
Changing your TP-Link Wi-Fi password is quite simple and straightforward. Here are the steps:
- Login to your TP-Link router as mentioned above.
- After logging in, you’ll land on the router’s status page. From the left-hand menu, click on ‘Wireless’ and then ‘Wireless Security’.
- Under the ‘Wireless Security’ page, you’ll see ‘WPA-PSK/WPA2-PSK’ section. This is where you can change your Wi-Fi password.
- In the ‘PSK Password’ field, delete the current password and enter your new desired password.
- Once you’ve entered your new password, click on the ‘Save’ button at the bottom of the page to apply the changes.
Remember, your new password must be a combination of letters and numbers, with a length of 8-63 characters. After changing the Wi-Fi password, all connected devices will be disconnected, and you’ll need to reconnect them using the new password. It is also advisable to regularly change your Wi-Fi password to ensure your network’s security.
How to change TP-Link SSID (Network Name)?
Changing your TP-Link SSID, also known as your network name, is also quite simple. Here are the steps:
- Login to your TP-Link router as mentioned above.
- After logging in, you’ll land on the router’s status page. From the left-hand menu, click on ‘Wireless’ and then ‘Wireless Settings’.
- Under the ‘Wireless Network Name (SSID)’ field, delete the current name and enter your new desired network name.
- Once you’ve entered your new network name, click on the ‘Save’ button at the bottom of the page to apply the changes.
Changing your SSID will not affect your Wi-Fi password, but all connected devices will be disconnected, and you’ll need to reconnect them using the new network name. It’s a good idea to change your SSID to something unique and personal, but avoid using any personal information such as your name or address as this can be seen by anyone within range of your network. Remember, maintaining a secure network is key to protecting your data and privacy online.