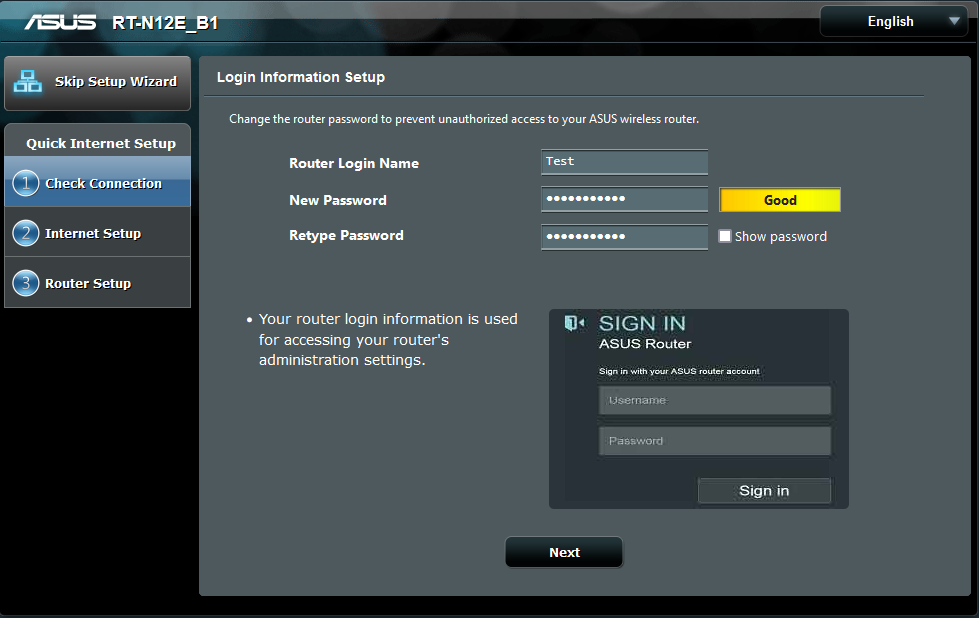
Asus router login refers to the process of accessing the web-based interface of an Asus router. This interface allows users to configure, manage, and customize their router settings at http://router.asus.com or 192.168.1.1 IP address.
How to Login to Asus router?
- Launch any web browser on your device (e.g., Chrome, Firefox, Safari, Edge).
- In the browser’s address bar, type the default IP address for most Asus routers, router.asus.com or http://192.168.1.1, and press Enter/Return.

- If you’re logging in for the first time or have not changed the default credentials, the typical default username is “admin,” and the password is also “admin.”
- Once logged in, you’ll be taken to the router’s dashboard, where you can configure and manage various settings, such as Wi-Fi name (SSID), password, security settings, and more.
How to change the ASUS WiFi Password?
Changing the Wi-Fi password on your ASUS router helps enhance your network’s security. Here’s a step-by-step guide on how to change the ASUS Wi-Fi password:
- Once logged into your ASUS router’s dashboard, locate the “Wireless” option in the left-hand navigation menu and click on it to open the wireless settings.
- Here, you will see options for both 2.4 and 5 GHz networks. Choose the one for which you want to change the password.
- Under the “Wireless Security” or “Wireless Encryption” section, you will find the “WPA Pre-Shared Key” or “Network Key” option. This is where you can change your Wi-Fi password.
- Enter your new password in the provided field. Make sure your new password is strong and secure, containing a mix of letters, numbers, and special characters.
- After entering your new password, click the “Apply” or “Save” button to save the changes. Your router may reboot to apply these changes.
- Now, all devices connected to your Wi-Fi network will be disconnected, and you will need to reconnect them using the new password.
How to change the ASUS WiFi SSID?
Changing the SSID (Service Set Identifier) or the Wi-Fi name of your ASUS router is a straightforward process. Here’s a step-by-step guide on how to do it:
- Log in to your ASUS router’s dashboard as described in the previous steps.
- Click the ‘Wireless’ option in the left-hand navigation menu to open the wireless settings.
Here, you will see options for both 2.4 and 5 GHz networks. Choose the one for which you want to change the SSID. - There should be a field labeled ‘SSID.’ This is your network name. Click on it and enter your desired new network name.
- After you’ve entered your new SSID, click on the ‘Apply’ or ‘Save’ button to save the changes. Your router may reboot to apply these changes.
- All devices connected to your Wi-Fi network will be disconnected, and you will need to reconnect them to the new network name.
Remember, when changing your SSID, avoid using personal information, as this network name will be visible to others within the range of your Wi-Fi network. Instead, choose a name that is unique and hard for others to guess.